
How to Build a Discord Bot in Python
Having a bot in a social media site is no different than having a personal assistant to welcome people, check out different topics, make comments or reviews, and perform various other tasks related to maintaining your personal or professional online presence.
In today’s tutorial, we will be covering how to build a bot using Python for the popular social media site, Discord.
Table of Contents
- What is Discord?
- What Can You Do with A Bot in Discord?
- Setting Up Discord
- Connecting to Discord Using Python
- Final Thoughts
What is Discord?
Discord is a platform that facilitates instant messaging, Voice-Over IP communication, and digital distribution of media. The users of this platform range from educators, various businesses, and gamers. Text, voice, images, and video are the streams of communication Discord has specialized in in their chatting mediums.
Just like with most social networking sites, Discord offers an application programming interface for developers to build applications involving Discord. This is how today we will be developing a bot as well.
What Can You Do with A Bot in Discord?
Discord has been gaining popularity over the last few years. What this means to the communities managed by users in Discord is that more and more user traffic is generated within their guilds and servers. There are instances where inappropriate users have to be banned, user requests have to be taken care of, and so forth. All these human-centric tasks can be automated by using a bot that does everything for the human instead.
For instance, imagine you have a guild in Discord for a topic you are passionate about. Whenever people with similar passions and interests join your guild, you will make an attempt to make them feel welcome in your guild. You might even make small talk with them and break the ice. If everything goes well, these new users will help you to grow the community. As the guild grows, there comes a certain point where you are unable to welcome to each and every user personally.
This is when you will feel the need to have a bot in your workflow. The whole process you have employed to help your community to grow can be scaled up with an automated bot and can be further continued to sustain the users and the dynamic of the community. This is just one instance when it can be useful.
Let’s get started.
Setting Up Discord
When we are developing in a bot in Discord, we are required to first set up and configure the developer account. Let’s do that now using the following main steps.
- Create a Discord account
- Create an application in Discord
- Register a new bot
- Create a guild
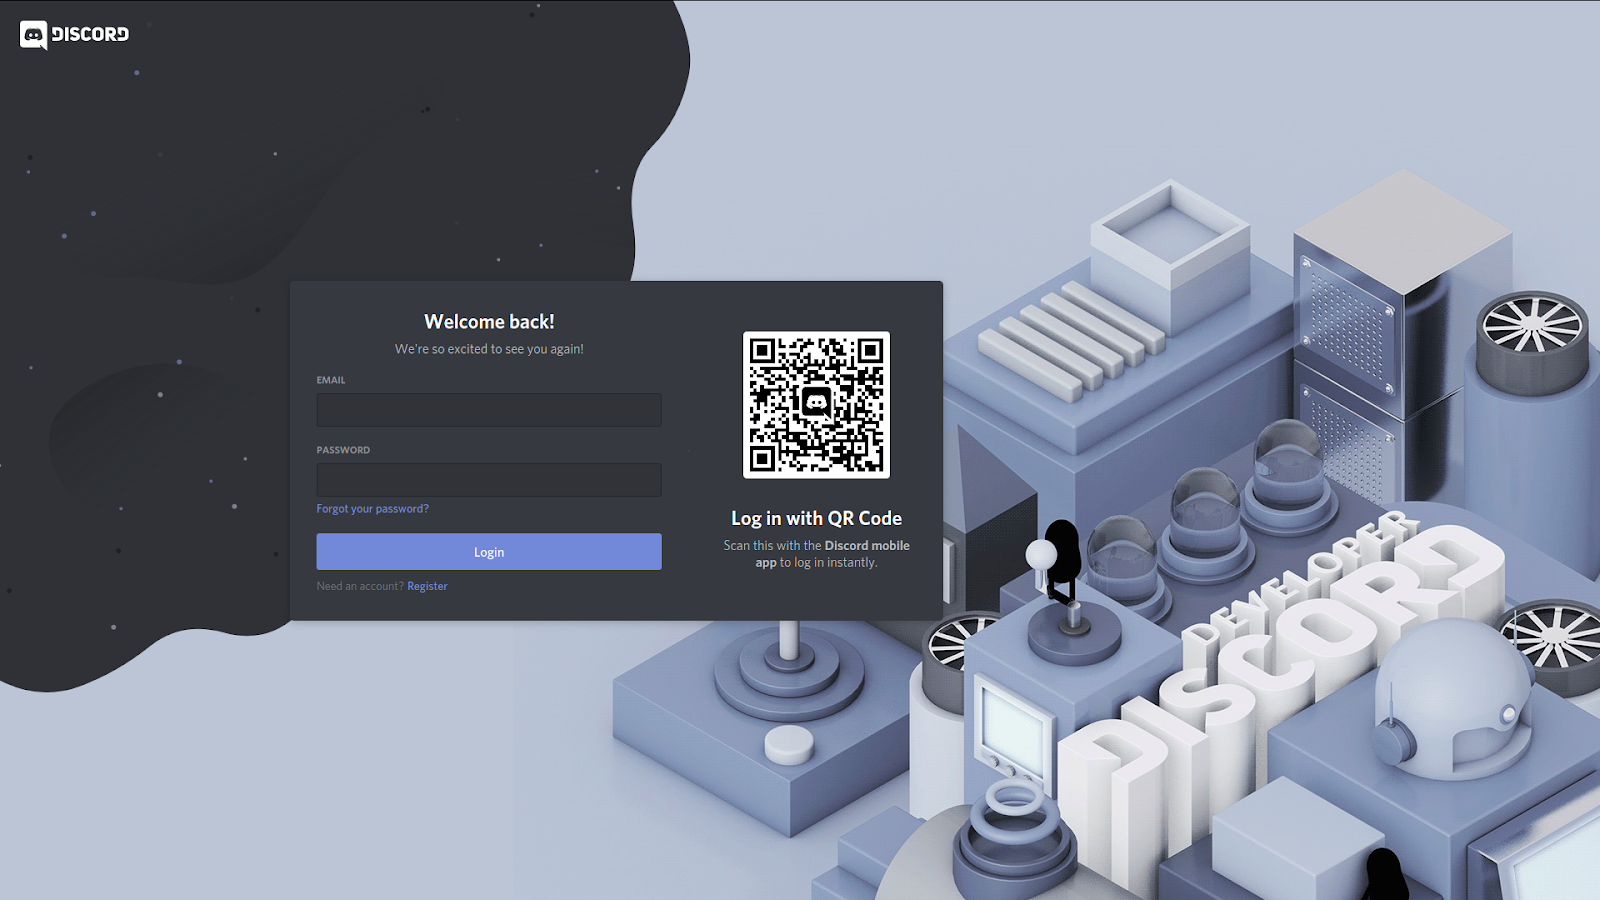
First of all, visit the Discord developer portal. If you already have an account, use your credentials to log in. If you are a new user, go ahead and create a Discord account. Make sure that you verify your email before continuing.
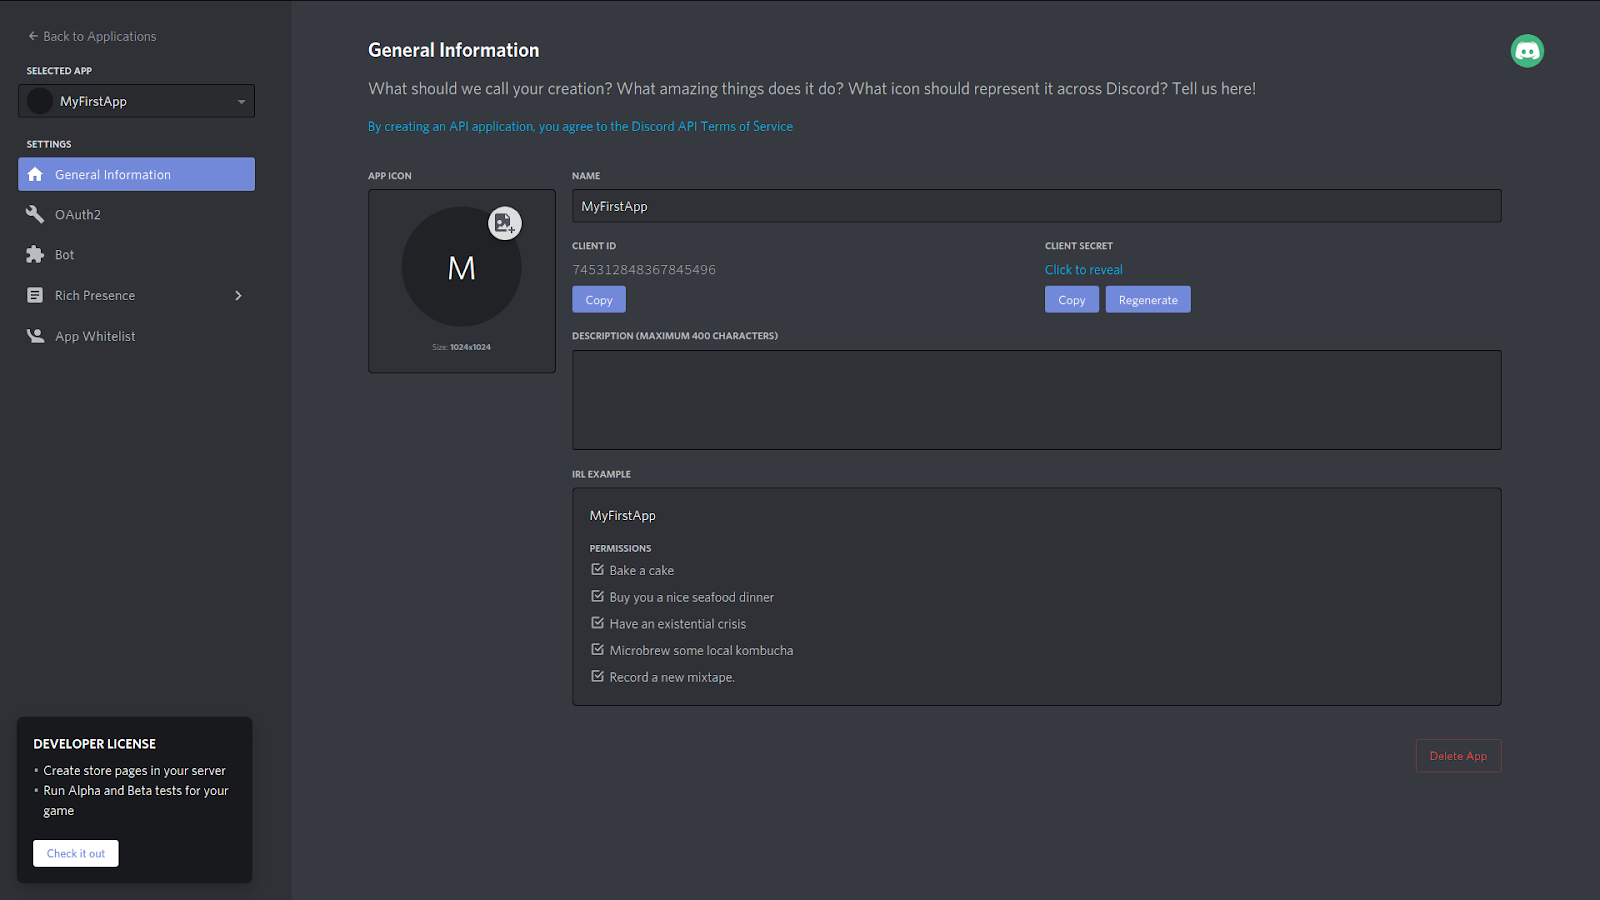
Now that we are registered with Discord, it is time for us to create an application. Navigate to “New Application” and wait for the next prompt.

Now that the prompt is here to create an application, go ahead and give it a meaningful name. We are going with MyFirstApp since it is the first application we are creating in this Discord account.

You are now navigated to the screen with information about your newly created application. As you can see, both your Client ID and Client Secret are available there to be copied. It should also be kept in mind that any external application that employs the Discord API is required to be authenticated through a Discord application.
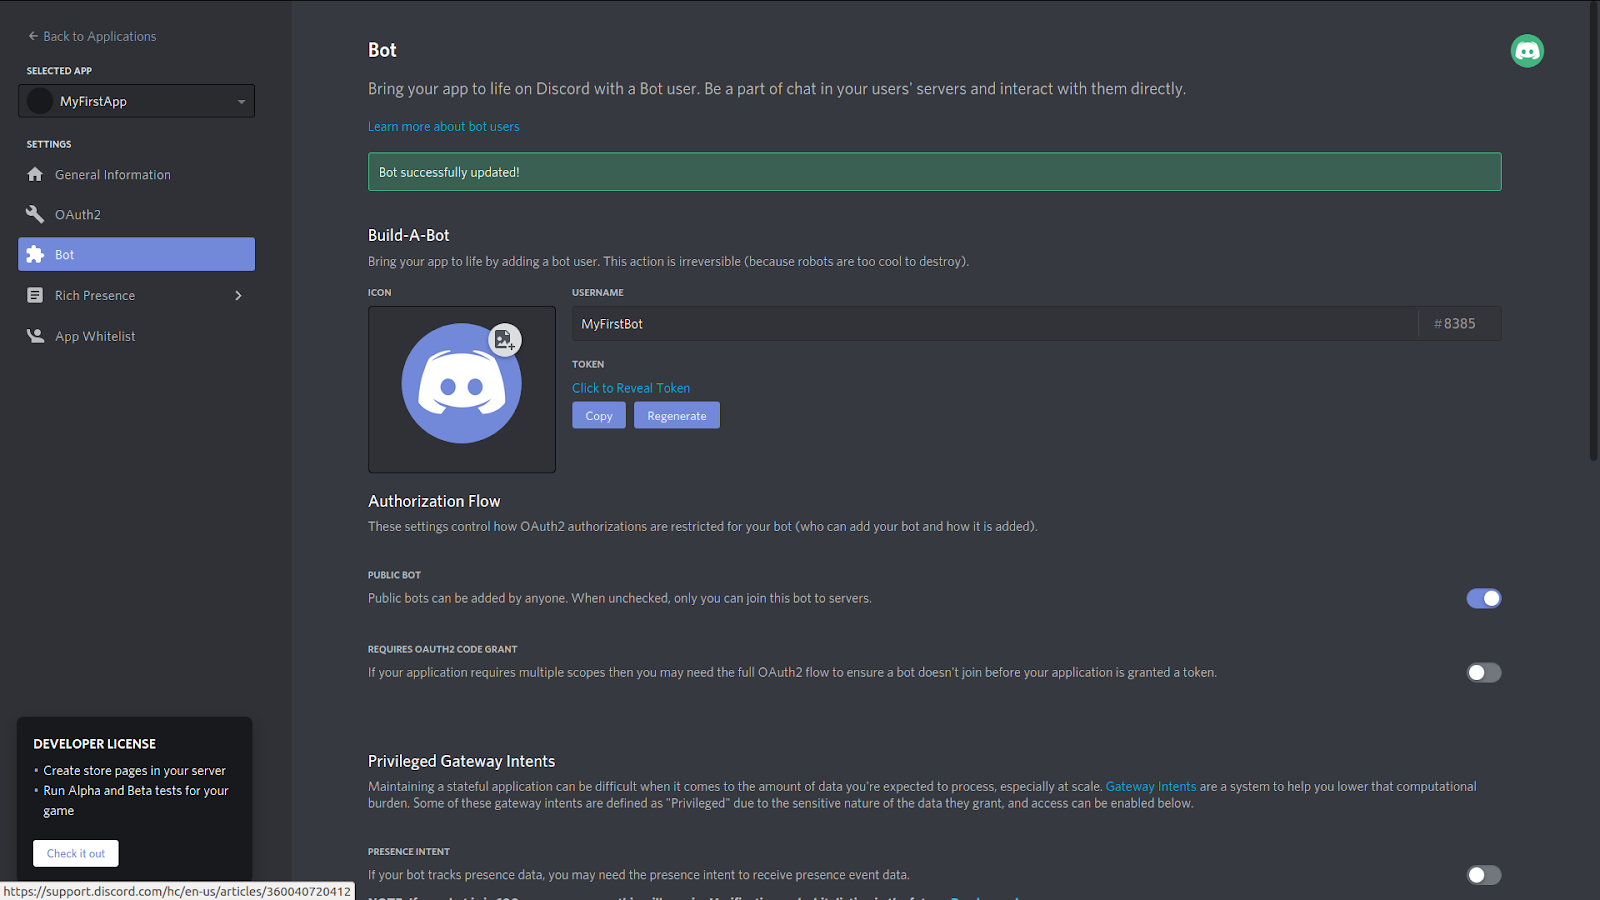
Let’s now go ahead and create our bot. Click the “Bot” from the left panel and you will be navigated to the following page. Go ahead and click “Add Bot”.

Make the confirmation with the subsequent prompt and you will have successfully created a bot in your portal.
As you can see, it has the same name as your application. However, feel free to change it to something meaningful. We changed it to MyFirstBot. Save your changes and be ready to proceed to the next step.
The objective of having a bot is to ensure that it can interact with your community instead of you. Let’s now go ahead and create a guild so your potential audience can have a place to chat, interact, and grow the community.
Let’s visit your home page. This is where you will interact with other people and guilds. Click “Add a Server”. You’ll be prompted with the following. We went ahead with “Create My Own” but feel free to go with a template.

Now that you are prompted with the following, go ahead with a name of your choice. By default, we used MyFirstServer.

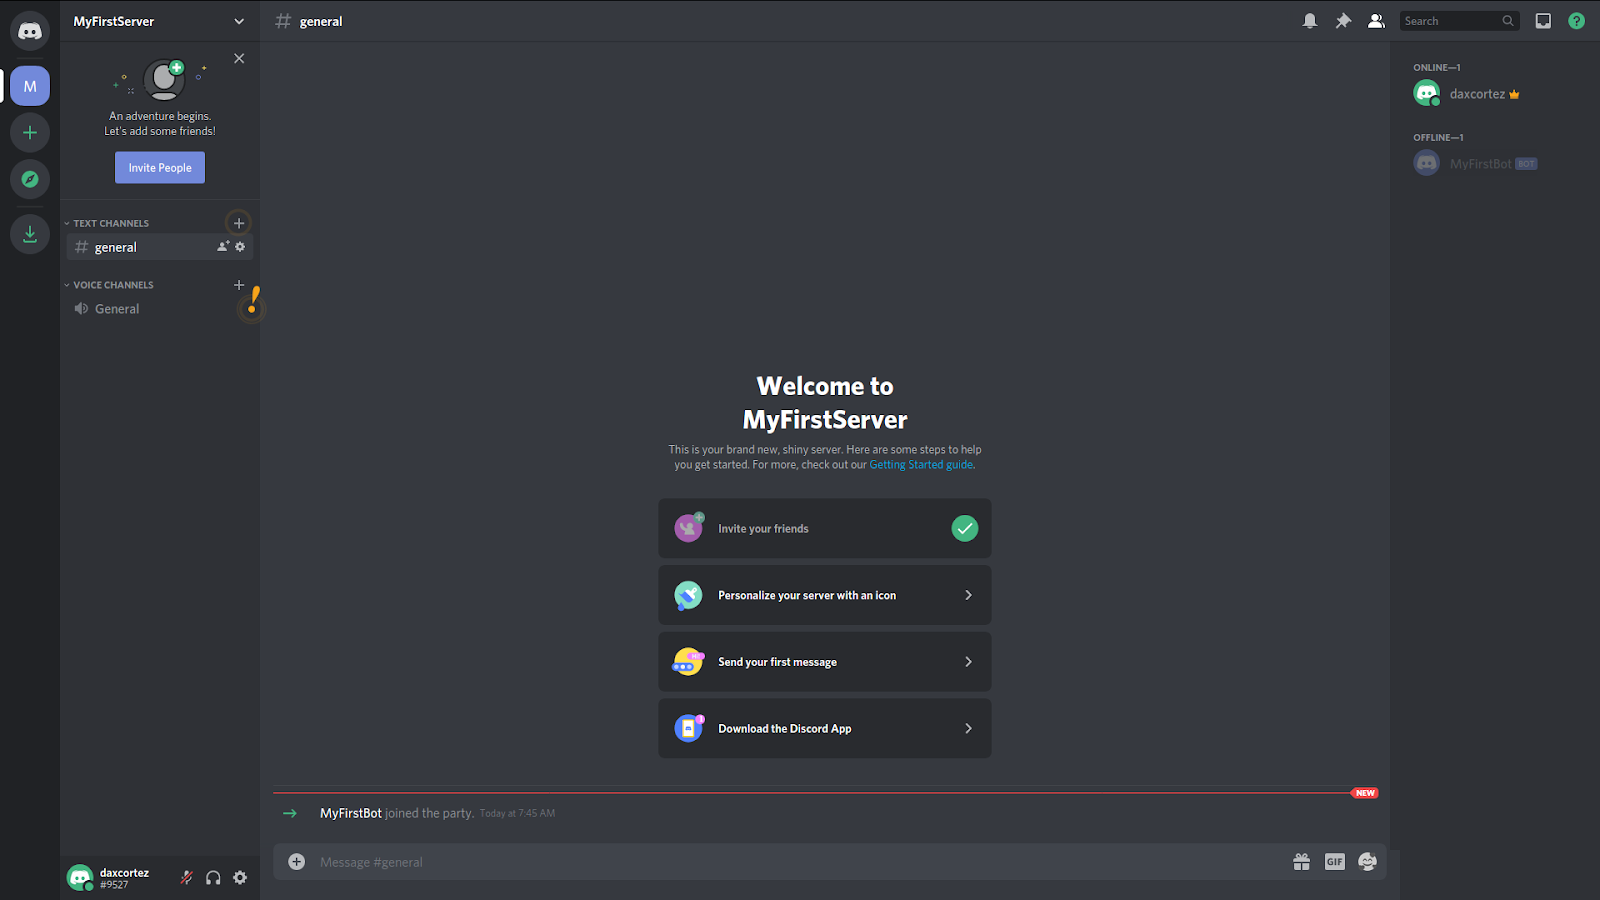
Now that you have created your guild, feel free to click around. You will see that this is the space for you to see other users and to interact with them.

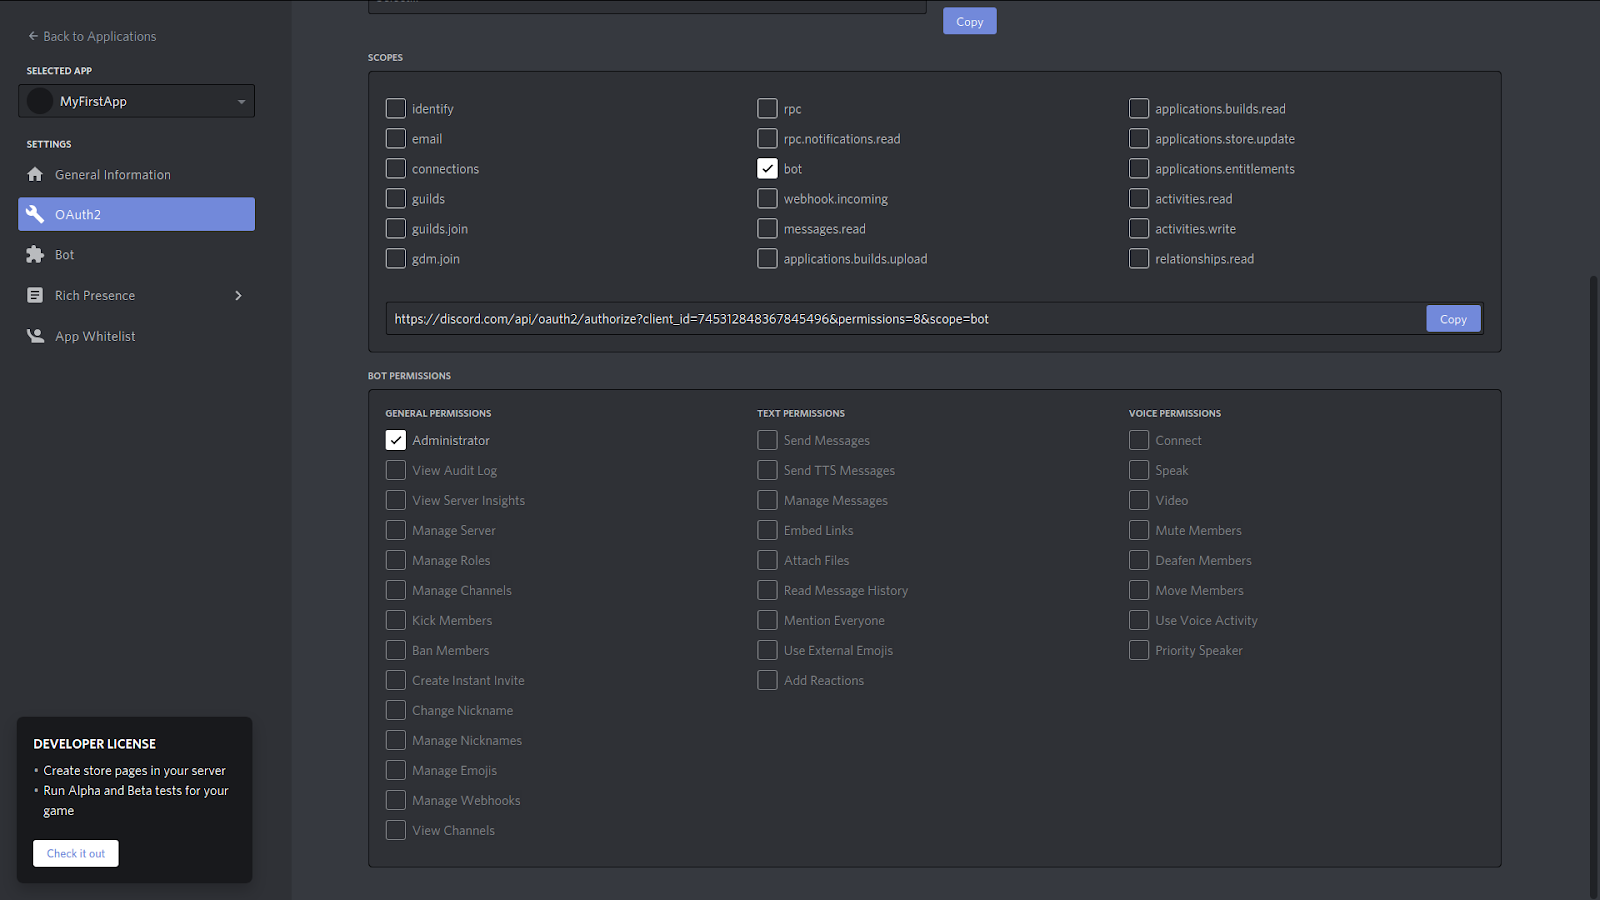
Now that we have a guild and a bot, the final step is to register your bot with the guild. However, since we cannot add a bot the same way we would add a normal user, we need to use the OAuth2 protocol.
Go back to the applications page in the developer portal. Select OAuth2 from the left panel and configure the scope. Since we are developing a bot, put a tick next to “Bot”. Then scroll a little further and from the Bot Permissions, put a tick next to “Administrator” which is under the General Permissions.
You are almost set now. You will be prompted with the following and can click “Continue”.

Congratulations. If you go back to your guild page, you will see that the bot you just created has joined the guild.
To recap what we just did, we started with creating a Discord account which granted access to both developers as well as the regular Discord environments. We also created an application which is the pathway to integrate the Discord API with external applications. We created a bot that will interact with the other users later, and we created a guild in which users with similar interests can collaborate and share ideas. Then finally, we added that bot to our guild via OAuth2 protocol.
We are past the boring stuff and now let’s go ahead with the coding.
Connecting to Discord Using Python
Thankfully to make things easier, we have been provided with a library to easily integrate the Discord API into our code. Let us go ahead and install the library using pip.
pip install -U discord.pyWe also use Nest-AsyncIO for this tutorial. Go ahead and install that using pip as well.
pip3 install nest_asyncioIn order to check if the installation is successful, open up your Jupyter notebook, the Python shell, or any other IDE that you use.
import discordIf this executes without any errors, the installation is successful. Let’s go ahead and do some magic.
Make sure that you copy your bot token from the Bot page and have it as a text object in your Python script.
We will first write a script to connect to Discord and print the bot's name.
import discord
import nest_asyncio

nest_asyncio.apply()

bot_token = #YourBotToken

my_bot = discord.Client()

@my_bot.event
async  def  on_ready():
	print(my_bot.user.name)

my_bot.run(bot_token)
If everything goes well, it will print the name of the bot you created. Make sure you replace bot_token object with the token you copied earlier.
Let’s look at what we have done here. After importing the required libraries and configuring Nest-AsyncIO, we have defined the bottoken with our bot’s token. Then we have created a mybot object using the discord.Client(). In other words, what we have done here is creating a client called mybot that can handle events and interact with the Discord application programming interface. We have also defined an onready() event handler that will handle the event once the mybot client has connected with the Discord API. Then we have finally connected using mybot.run() and passing our token as an argument. For now, it is pretty straightforward. Let’s go ahead.
Using the Discord API
Now that we have created a client called my_bot, possibilities of what we can do with Python are limitless.
We will look at a few examples and learn how we can use the Discord API to our advantage.
Retrieving Guild Name
In this example, we will be connecting to the API and retrieving the name of the guild we are connected to. Make sure to replace the client_secret with the client secret of the application you created earlier in Discord.
import discord
import nest_asyncio

nest_asyncio.apply()

my_bot = discord.Client()

bot_token = #Your Bot Token

@my_bot.event
async  def  on_ready():
	print('We are connected to ' + str(my_bot.guilds[0].name))

my_bot.run(bot_token)
Output:
We are connected to MyFirstServerNotice that we have called my_bot.guilds[0]. This is since we newly created this bot and only added it to one guild. However, as the number of guilds the bot is connected to grows, the list will grow as well allowing us to loop through it to find the guilds we want to look for.
Finding Users in the Guild
This can really come in handy if you want to remotely retrieve who is connected to your guild or if you want to take a list of the people for different purposes or to make the experience better for them.
import discord
import nest_asyncio

nest_asyncio.apply()

my_bot = discord.Client()

bot_token = #Your Bot Token
guild_token = #Your Application Client Secret

@my_bot.event

async  def  on_ready():
	for guild in my_bot.guilds:
		if guild.name == guild_token:
			break
	users = '\n'.join([user.name for user in guild.members])
	print(users)

my_bot.run(bot_token)
This would output your bot’s name and your Discord account name provided that nobody else has joined your guild.
Trigger an Event When A User Connects
Imagine you want to get information on how frequently users visit your guild. We can easily perform this using the Discord API.
Check out the following code.
import discord
import nest_asyncio

nest_asyncio.apply()

bot_token = #Your bot token

class  MyDiscordClient(discord.Client):
	async  def  on_ready(self):
		print(str(self.user) + ' is now connected')

my_bot = MyDiscordClient()
my_bot.run(bot_token)
If you look at this, what we are really doing is creating a mybot using a MyDiscordClient and later running with our bot token. In this, we are using MyDiscordClient() to get the onready function to function as we want. In this, we are connecting our bot to the guild and our code notifies us about that. If other users were to join, it would notify us of their usernames the same way.
Welcoming New Members
Imagine the scenario we had discussed earlier. Your guild is growing at an exponential rate and you are unable to keep up with the number of users who are joining every day. Your best option is to program a bot to greet all the new guests instead of you. Not only will this make the job much easier but also will result in better member retention inside your guild.
Let’s check out the code.
import discord
import nest_asyncio

nest_asyncio.apply()

bot_token = #Your Bot Token

my_bot = discord.Client()

@my_bot.event
async  def  on_ready():
	print(f'{my_bot.user.name} has connected to Discord!')

@my_bot.event
async  def  on_member_join(user):
	await user.create_dm()
	await user.dm_channel.send('Welcome '+str(user.name))

my_bot.run(bot_token)
In this, we are using a new function called onmemberjoin(). It handles the event when a new member joins your guild. In this, we are sending that new user a direct message using createdm() and dmchannel.send().
Final Thoughts
So, there is it. In this tutorial, we learned how to integrate the Discord API with your external applications. We also learned how to create a bot and make it interact with the members of guilds. Although everything we did today was little more than scratching the surface, there are many more functions the Discord API provides. Check their documentation here to really test your limits and to find out all the new things you can do with a Discord bot.