
To be a successful JavaScript developer, there is obviously plenty of core JavaScript knowledge that you will need to learn.
However, before you can start learning JavaScript in earnest, you'll need to have the proper tooling set up on your computer.
This lesson will discuss the tooling required to be successful in this course. It is divided into three sections:
- Choosing a web browser to work with and learning how to access its developer tools
- Installing Node.js and npm
- Picking a text editor that you want to use
Let's dig into each of these topics one-by-one!
Choosing A Web Browser
JavaScript code typically runs in a web browser. Because of this, you'll become very familiar with how your web browser works while working through this course.
JavaScript developers rely on their web browser so much that they spend a great deal of time deciding which web browser to use. I use Google Chrome and Google Chrome Canary. You will see screenshots and videos of both browsers in this course.
The normal Chrome browser is the world's most popular web browser. The Canary version of Google Chrome contains Google's latest features for developers that are not yet deemed stable enough for integration into vanilla Chrome. Said differently, Chrome Canary has both more functionality and more bugs than its vanilla counterpart.
You can use other web browsers while working in this course. It is far more important for you to be comfortable with your browser (rather than using the same one I'm using).
If you do not yet have a favorite web browser, I am obviously partial to the Chrome family. I've also heard good things about Mozilla Firefox (especially Firefox Developer Edition, which is similar to Chrome Canary from my understanding).
How To Open Your Browser Developer Tools
For much of this course, we will be working in the developer tools (often called DevTools) of your browser. For now, all you need to know is how to open the developer tools.
The most basic method for opening a browser's developer tools is right-clicking anywhere on the screen and choosing the 'Inspect' option. This will open something that looks like this:
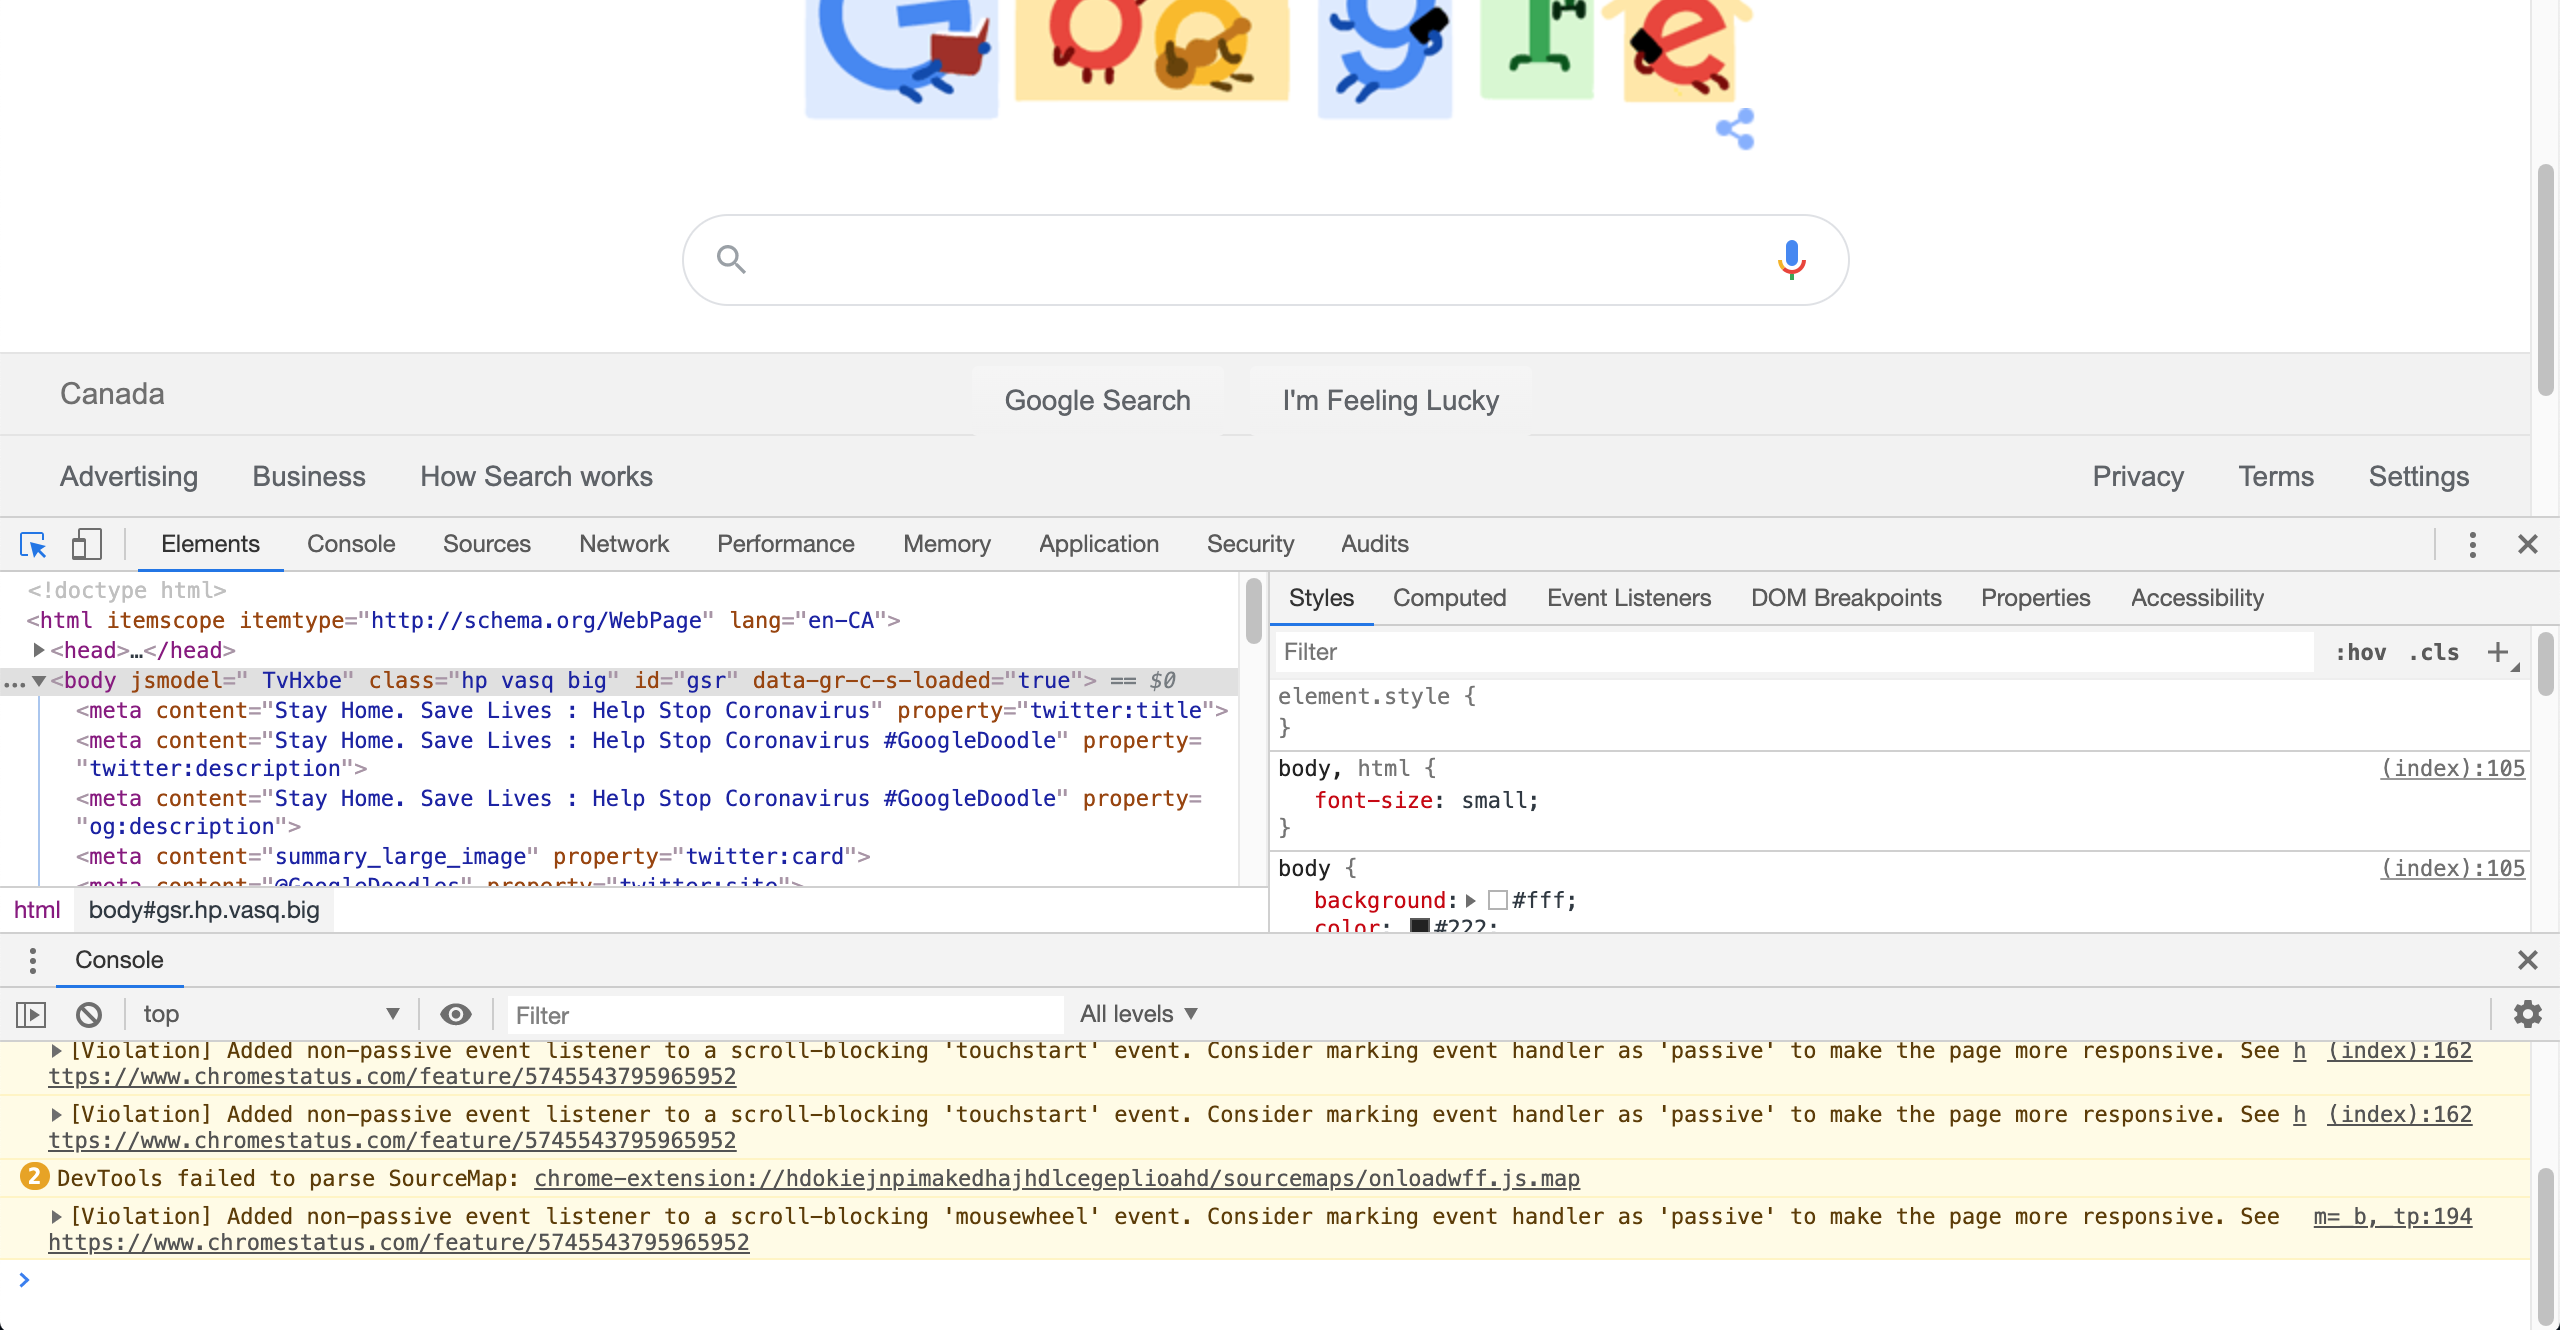
Do not worry if yours looks slightly different - I have configured mine to meet my needs over time.
While the right-click option will always be available to you, we'll be spending enough time in our developer tools that it is worth learning and using the keyboard shortcut right away. For my setup (Google Chrome running on Mac), I can open the developer tools using CMD + Shift + C.
That's all you need to know about DevTools for now. Let's move on to installing Node.js and npm!
Installing Node.js and npm
This course will make use of two technologies called Node.js and npm. We will need to install both before proceeding.
Node.js is a very useful technology that allows you to run JavaScript outside of a web browser.
To install Node.js, simple navigate to Nodejs.org. The website will recognize your operating system and present you with the best options available for you in an interface that looks like this:
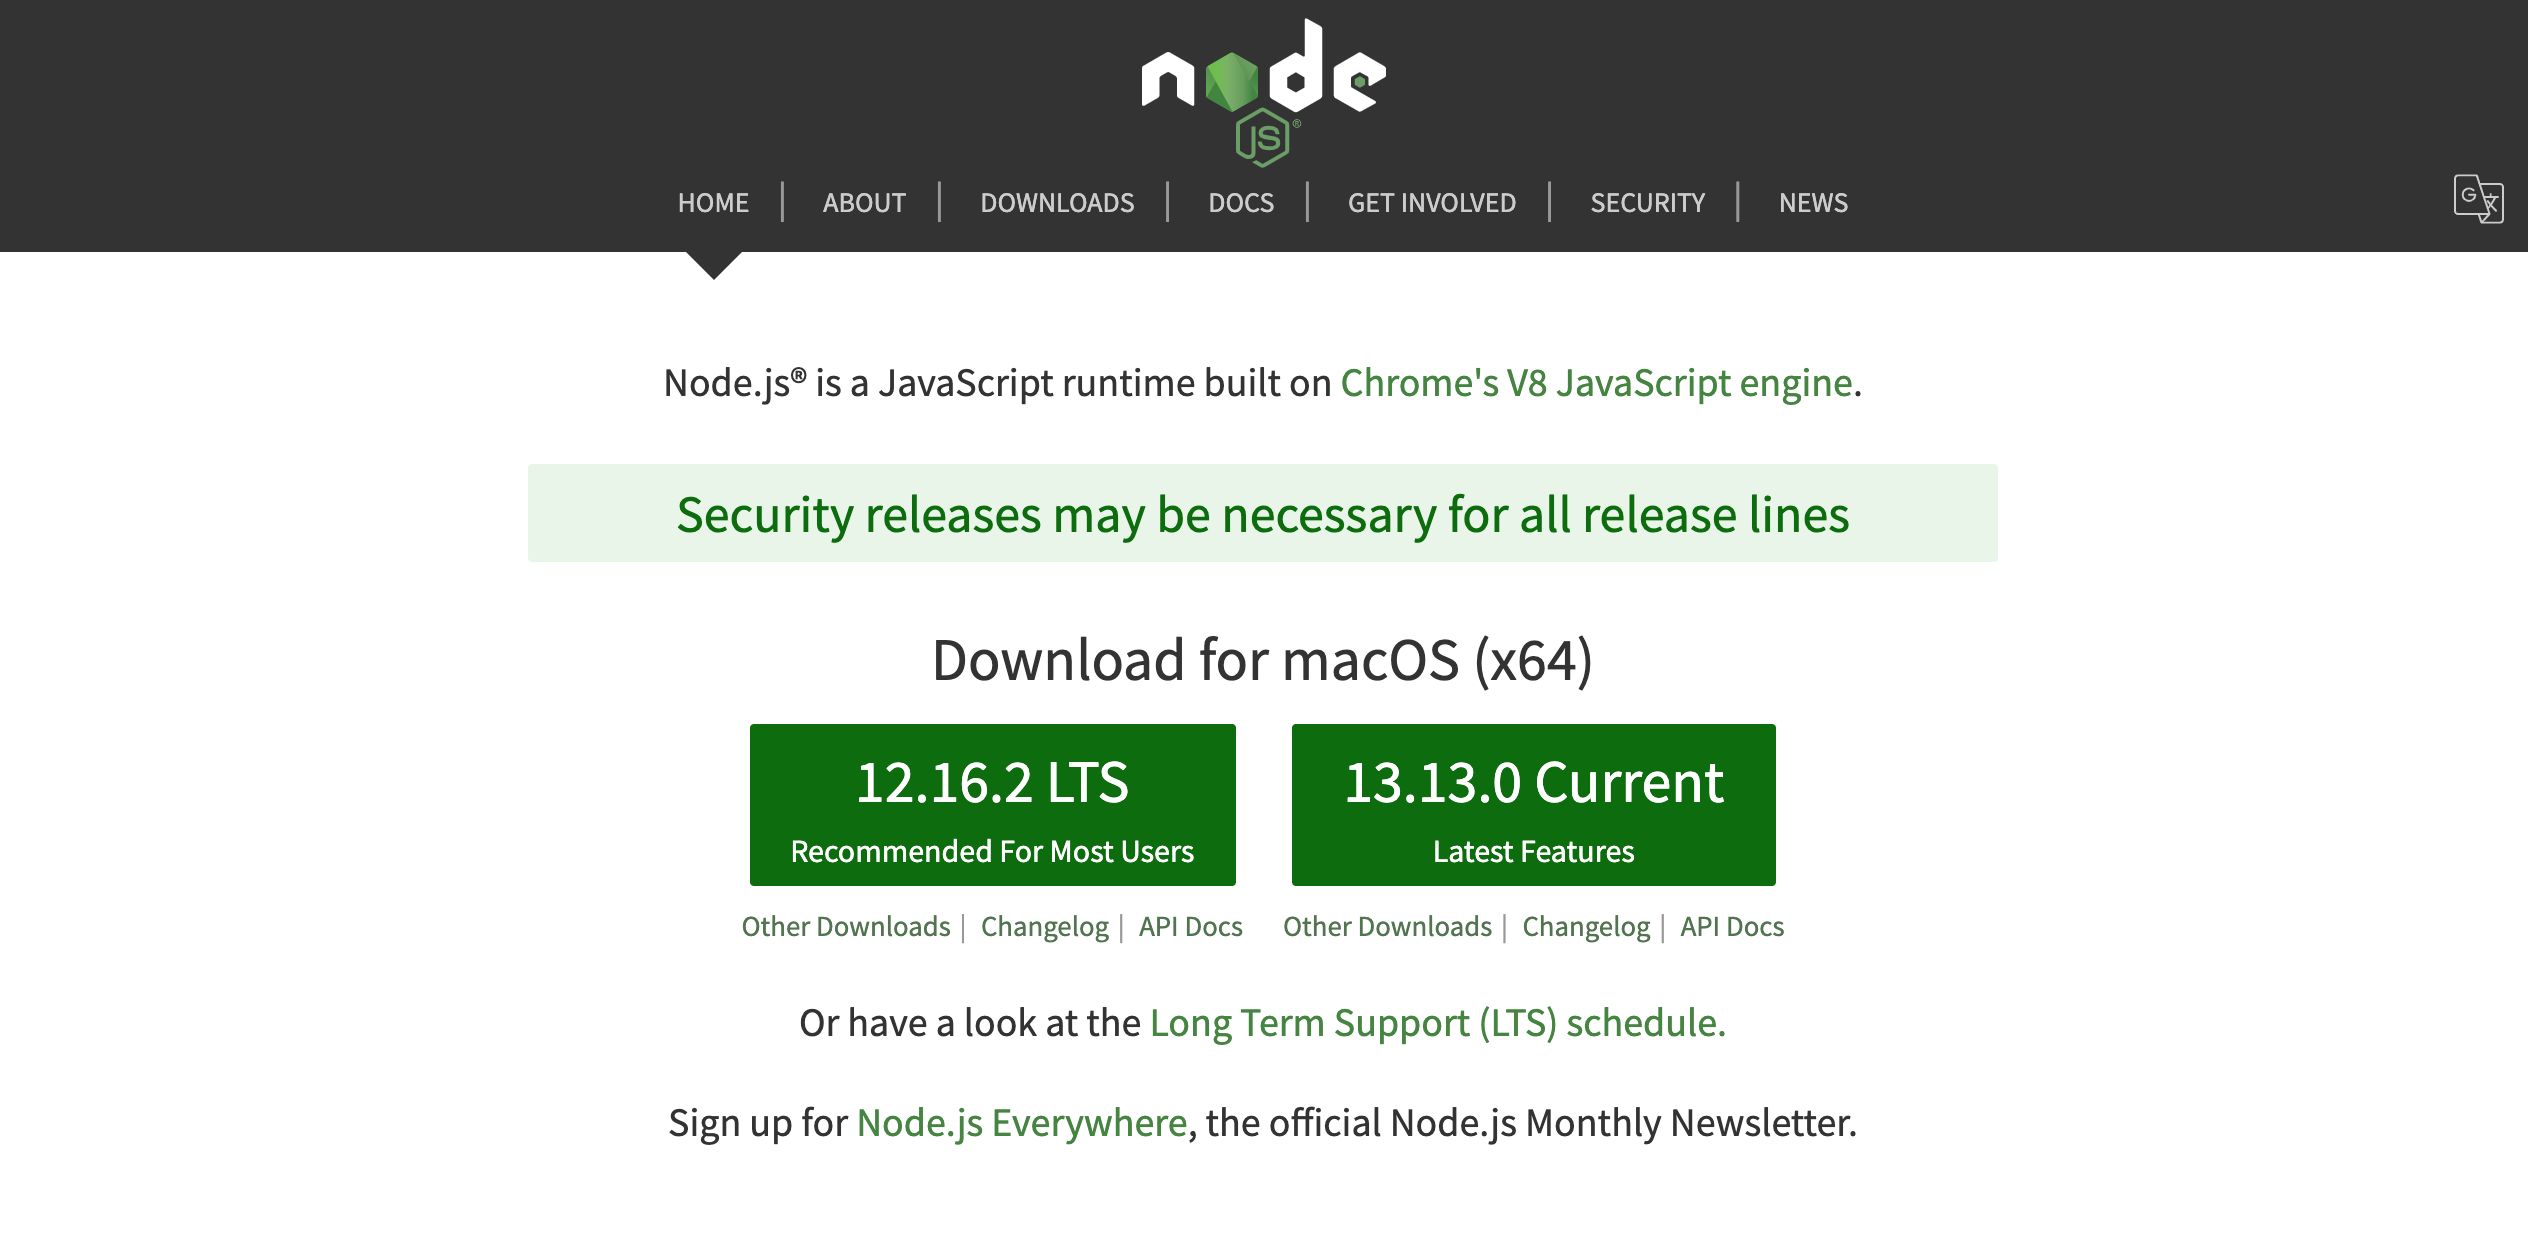
I recommend the Current version available on the right, although either version will serve you well in this course.
How can you test whether or not Node.js has installed correctly? There are a number of methods, but the easiest is to open a Terminal window and run the following command:
node -vIf Node.js is installed on your computer, this command will return which version is running. If Node.js is not installed on your computer, it will return an error.
The next thing we need to do is make sure that we have installed npm. npm stands for 'Node Package Manager' and is a technology that allows you to manage outside libraries in JavaScript. npm should have been installed with Node.js. We can test whether or not it was installed correctly with the following command executed in a Terminal window:
npm -vAs before, if npm is installed on your computer, this command will return which version is running. If npm is not installed on your computer, it will return an error.
Note that we have just worked through two examples of working at the command line in a Terminal window. If you're not comfortable working at the command line and want to learn more, I recommend Wes Bos' free course Command Line Power User.
Selecting a Text Editor
A text editor is a computing application that you use to write and edit code. They generally look like this:

There are hundreds of free text editors available for download on the Internet with varying levels of complexity and sophistication. Most text editors that handle JavaScript will work well for this course.
If you do not have a preference, I would highly recommend VS Code, which is an open-source project maintained by Microsoft. I believe VS Code is arguably the best editor for writing and handling JavaScript, and it is what I do all of my own JavaScript (and some of my Python) development in.
Final Thoughts
In this lesson, we set up the course configuration and installing for this JavaScript course, including:
- Learning how to access our browser's DevTools
- Installing Node.js and npm
- Selecting a text editor
Let's move on to our next lesson, where we learn how to run JavaScript code!