
In the first lesson of this course, we went through the process of downloading Anaconda and launching our first Jupyter Notebook. In this brief lesson, I’ll explain the basics of a Jupyter Notebook and how to use it to execute Python code.
Jupyter Notebook Basics
To begin, let’s consider the basic layout of the Jupyter Notebook:

There is a lot to unpack here.
First, let’s examine the top toolbar of icons, which is directly above the empty code cell. From left to right, here are what all the icons do:
- Save the Jupyter Notebook
- Add a new cell
- Delete the current cell
- Copy the current cell
- Paste a copied cell below the current cell
- Move the selected cells up
- Move the selected cells down
- Run the current cell
- Interrupt the current code that is running
- Restart the kernel
- Restart the kernel, then re-run the entire notebook
Note that you can also run code from the selected cell at any time by typing CTRL+Enter.
Jupyter Notebook Functionality
When it comes to actually running code, the Jupyter Notebook has a number of helpful functionalities that other editors do not.
For one, the Jupyter Notebook will count how many times you have executed a certain code block and display that number to the left of the cell between the square brackets.
For example, here is a code cell before running (note that the square brackets are empty) :

And here is that same cell after running once (note that the square brackets now contain a ‘1’):

As you can imagine, the cell will populate with a ‘2’ after you run the code twice:

The second Jupyter Notebook characteristic worth mentioning is that it automatically prints the last line of code, even without a print statement. For instance, we could get the same “I am learning Python!” output by including the string with no print statement:
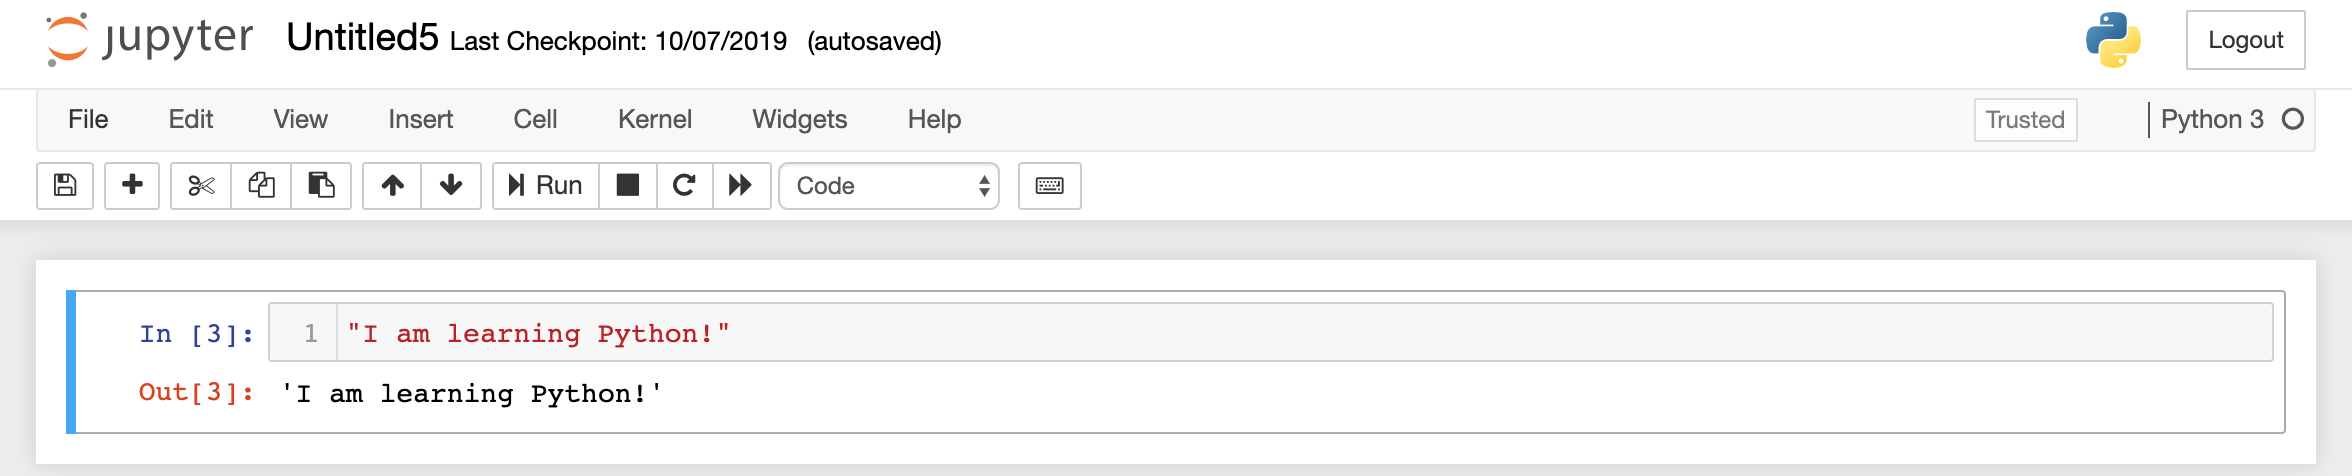
The “Out[3]” on the left side is a telltale indicator that this output is from Jupyter Notebook’s built-in output functionality, and not a print statement.
Moving On
You now know enough basics of the Jupyter Notebook to move on to learning actual Python programming! In the next lesson, we’ll discuss comments, operations, and variables in the Python programming language.