
How to Build a REST API in Python with Django
REST APIs are an important part of modern software tech stacks.
However, they are complex, and building them from scratch is a gargantuan task.
In this tutorial, you will learn how to build a REST API in Python using the Django Web Framework.
Table of Contents
You can skip to a specific section of this Python REST API tutorial using the table of contents below:
What is REST?
REST is the acronym for REpresentational State Transfer. This is a software architecture style that is used to create web services. Any web service that is created using this architecture style is called RESTful web service. REST API provides the functionality to easily provide data to other applications and services, also in some instances to manipulate the data within the REST API.
Following are the main request types of a REST API
- GET - Used to read/request records from a given endpoint and the parameters specified.
- POST - Create a new record in the provided data set.
- PUT - Update an existing record according to a given endpoint and parameters or if record not available create a new record.
- DELETE - Delete the specified record
- PATCH - Updates the individual fields in a record partially updating the record.
API is a window to a database. The API backend will handle the database querying and formatting the response. Typically, the result will be a static response provided in JSON format. A RESTful API provides a simpler way for applications to communicate with each other. The process of querying and converting database values to JSON or another format is called serialization. When creating an API, the correct serialization is of the utmost importance.
What is Django Framework?
Django is a free and open-source high-level python web framework tailored to creating web applications and services. When creating an API, the Django framework provides built-in functionalities to simplify the process.
The Django framework is based on the model-template-views architectural pattern that allows the developers to focus on the program logic while handling the low-level implementation itself. For example, Django ORM handles the database migrations and queries written for Django models and the interoperability of the Django REST framework provides the functionality to easily serialize the database models to RESTful formats.
Creating RESTful API using Django
This section will cover how to create a simple Django RESTful API utilizing python virtual environments for simpler dependency management. The API is created in a Microsoft Windows-based environment.
Let us create a Python virtual environment called “simplerestapi” using the “venv” command in a windows environment.
python -m venv F:\python_projects\simple_rest_apiUse the following command in a Linux environment.
python3 -m venv <Path to Virtual Environment>After the virtual environment is created, we use the activation script in the Scripts directory of the created python environment. in this instance, we will be using “Activate.ps1” as we are using PowerShell terminal.
<venv>\Scripts\Activate.ps1
Installing and Configuring Django
Within the virtual environment, we install the Django framework.
pip install django
After a successful installation of Django, let us create a Django project called “vehicle_details”
django-admin startproject vehicle_details
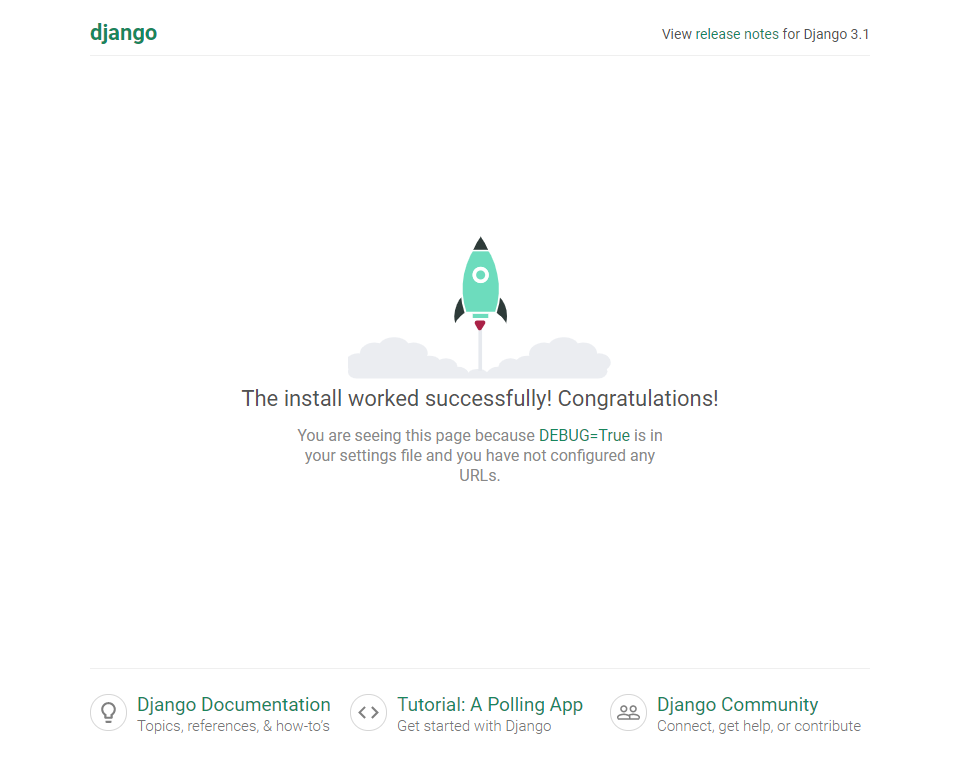
We can see that a Django project was successfully created by exploring the newly-created directory. To verify that, let's start the project on the Django server as shown below.
python .\manage.py runserver
If the web application is active we can see the following screen by visiting the URL http://127.0.0.1:8000/ or http://localhost:8000/
Django server interface
Creating the API App
although we can create the API within the current directory structure, the best practice is to separate the Django project into separate apps for easier management of the codebase.
Let us create a new application called “vehicleapi” and register it as the parent “vehicledetails” project.
python manage.py startapp vehicle_api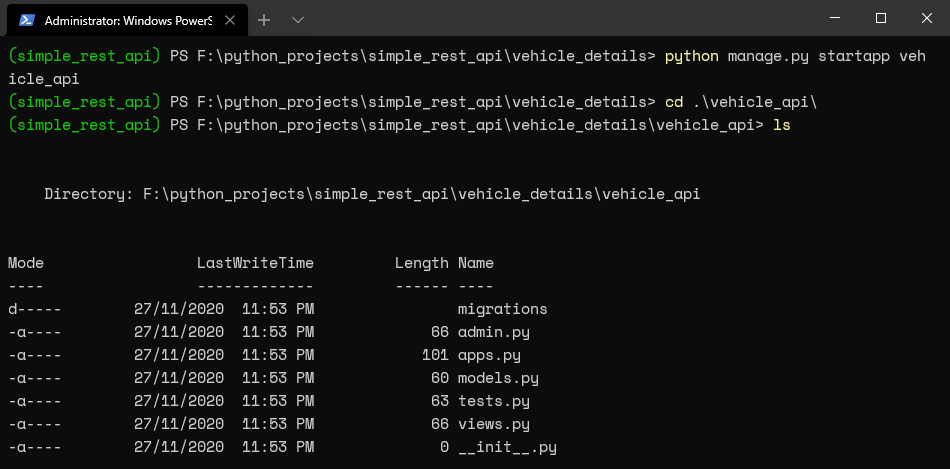
We edit the “vehicledetails\settings.py” file, so the Django framework will identify the newly created “vehicleapi” app.

settings.py
INSTALLED_APPS = [
    'vehicle_api.apps.VehicleApiConfig',
    'django.contrib.admin',
    'django.contrib.auth',
    'django.contrib.contenttypes',
    'django.contrib.sessions',
    'django.contrib.messages',
    'django.contrib.staticfiles',
]
Migrating the Database and Adding Administrative Users
We created a new Django model when we created the new app. When we create or modify a model, we need to inform the Django framework to migrate the changes to the database. The Django ORM makes this task easier by automatically creating the necessary SQL commands.
If a new project is created without explicitly creating a database, Django will automatically create an SQLite database for the project. In this case, we will migrate the built-in models in the database using the following command.
python .\manage.py migrate
After migrating the database, we will create a super-user administrative account to access the project admin interface to review our database. We create an admin account by using the following command and then entering the necessary details.
python manage.py createsuperuser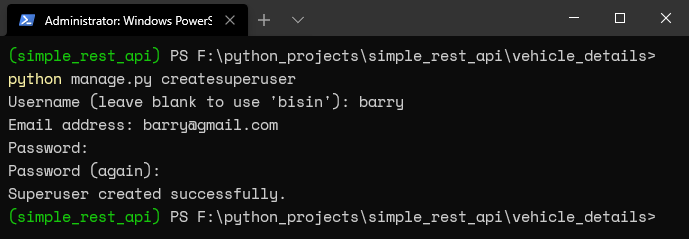
Let us verify if the server is working correctly by starting the Django server and accessing the admin interface from http://127.0.0.1:8000/admin or http://localhost:8000/admin
python manage.py runserverDjango admin login screen

From the admin login screen, we enter above-created super-user login credentials to access the admin interface.
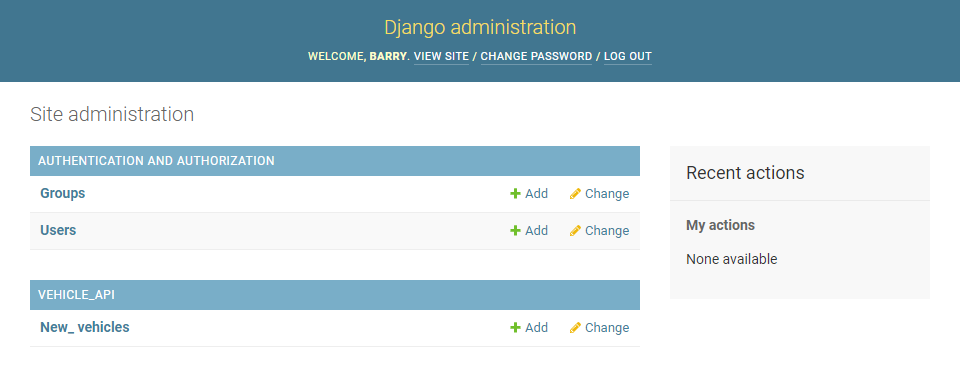
Django admin interface

Creating the Database
Although we have created a “vehicleapi” application, there is no database associated with it. Using the model functionality in the Django framework, we will create a NewVehicle database by editing the models.py file.
.\vehicle_api\models.pyfrom django.db import models
class New_Vehicle(models.Model):
make = models.CharField(max_length=60)
model = models.CharField(max_length=60)
year = models.IntegerField(blank=True)
price = models.IntegerField(null=True)
def __str__(self):
return self.make + " " + self.modelIn this model, we create 4 fields to store the vehicle details and define a (str) method to inform the Django framework to return the combined make and model of the specified record. This database is fully managed by the Django ORM. , It is mandatory to migrate the changes when a modification is done to a model. we instruct Django about it using the following commands.
python manage.py makemigrationspython manage.py migrate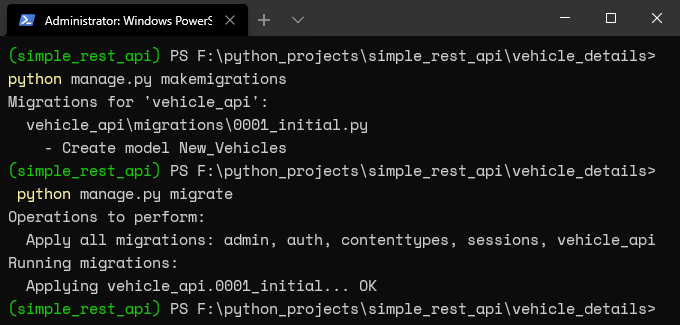
Associating the Database with the Admin Interface
After the database is migrated, we will modify the admin.py to associate the New_Vehicle model with the admin interface.
.\vehicle_api\models.pyfrom django.contrib import admin
from .models import New_Vehicle
admin.site.register(New_Vehicle)Now let us start the Django server and log in to the admin interface to check whether all the change we made is reflected in the interface.
python manage.py runserver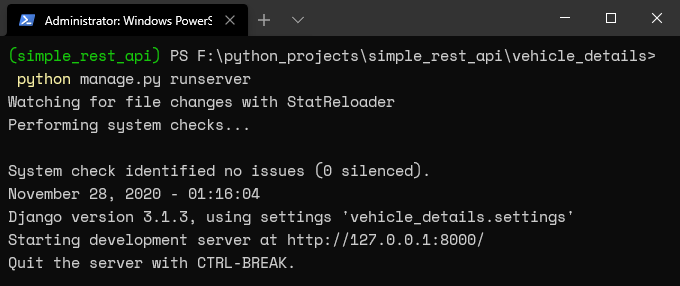
Associated database
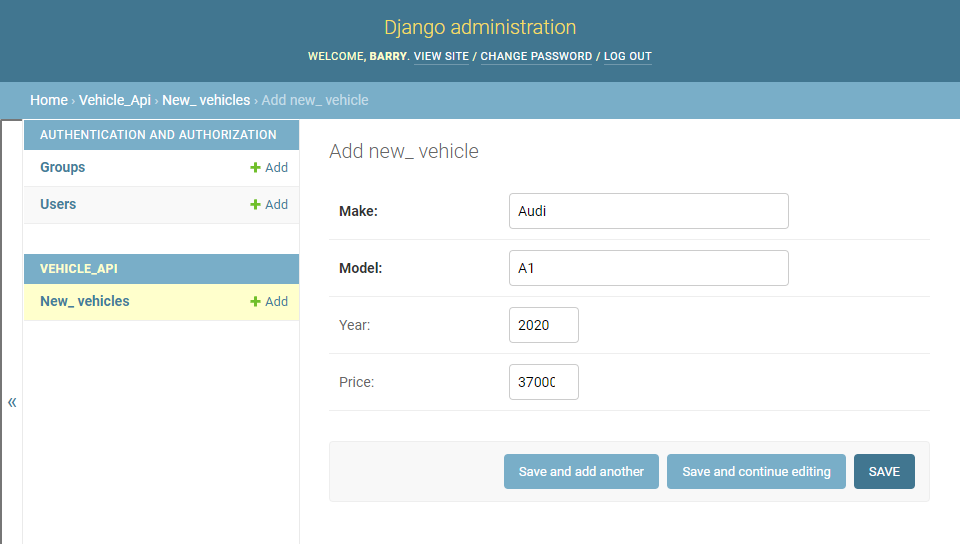
Finally, we will add some data to populate the New_Vehicles by adding the details as follows.
Creating new records
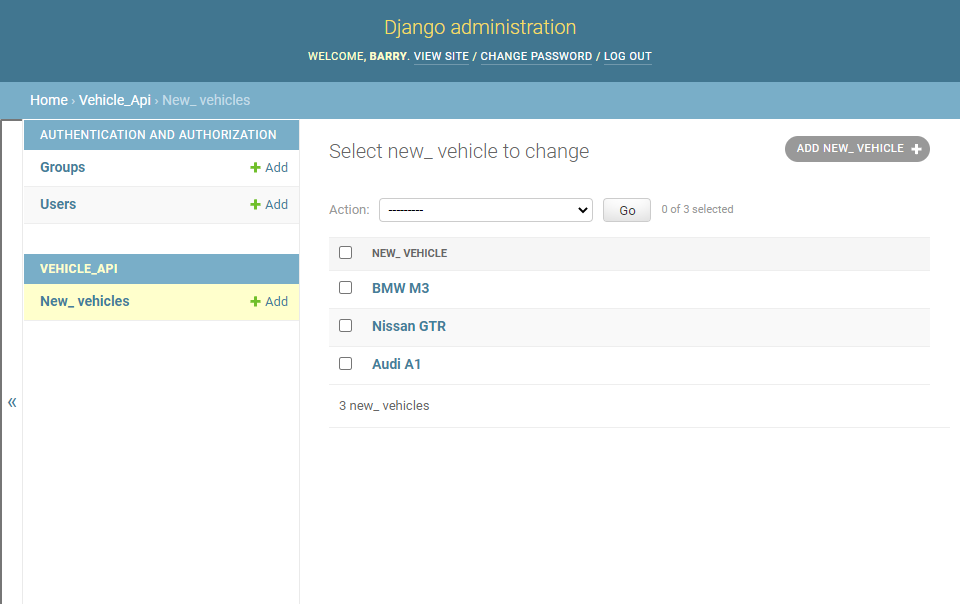
All records within the data set
Integrating the Django REST Framework
Installing Django REST Framework
The Django REST framework comes as a separate pip module. Therefore, we install the REST framework module separately and edit the vehicle_details\settings.py file to integrate the REST framework functionality with the existing Django project.
pip install djangorestframework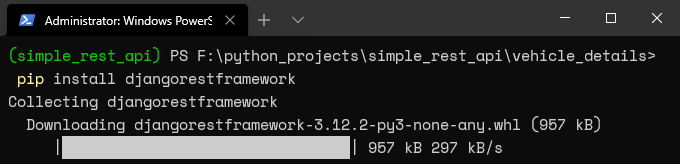
.\vehicle_details\settings.pyINSTALLED_APPS = [
'vehicle_api.apps.VehicleApiConfig',
'django.contrib.admin',
'django.contrib.auth',
'django.contrib.contenttypes',
'django.contrib.sessions',
'django.contrib.messages',
'django.contrib.staticfiles',
'rest_framework',
]Serializing the New_Vehicles Model
The Django REST Framework will convert the New_Vehicle model to JSON format so any API user can parse them. Serialization removes the python dependency of the data set as any programming language can read the JSON format. Also, we can specify which fields should be represented in the JSON string using a serializer. When a user POST JSON data to the REST API, the serializer will convert the JSON to a valid model that can be used inside the programme.
The following example demonstrates how to create a serialization file called “serializers.py” within the “vehicleapi” app. This file will import the “NewVehicle” module and the REST framework serializer and create a serializer class to only provide the make, model, and year fields via the API.
.\vehicle_api\serializers.pyfrom rest_framework import serializers
from .models import New_Vehicle
class NewVehicleSerializer(serializers.HyperlinkedModelSerializer):
class Meta:
model = New_Vehicle
fields = ('make', 'model', 'year')Displaying the Data
In the above steps, we have configured a model, added some data to that model and setup serialization to convert the data to the parsable JSON format. In this section, we will create a view and set up URLs to provide access to the data via the API.
Setting up a View
Views or “viewsets” are used to send data from the application back end to the browser. The Django framework allows these viewsets (ModelViewSet) to accept and handle GET, POST, PUT and DELETE requests without any additional coding. They also provide us with a single endpoint to handle requests for all views of objects in the database as well as individual object instances.
In our application, we create a view to query the database for all the items in New_Vehicles and pass the data to the user-created serializer so the data gets correctly converted to JSON format.
.\vehicle_api\views.pyfrom django.shortcuts import render
from rest_framework import viewsets
from .serializers import NewVehicleSerializer
from .models import New_Vehicle
class NewVehicleViewSet(viewsets.ModelViewSet):
queryset = New_Vehicle.objects.all().order_by('name')
serializer_class = NewVehicleSerializerSetting up URLs
The Django URL module provides the users with a way to route the request to the desired view (viewset). In Django, the URLs will be first resolved in the project level. We will edit the urls.py in the “vehicledetails” project folder and add the URL to the “vehicleapi” application.
.\vehicle_details\urls.pyfrom django.contrib import admin
from django.urls import include, path
urlpatterns = [
path('admin/', admin.site.urls),
# Path to vehicle_api
path('', include('vehicle_api.urls'))
]Now we have configured the URL to direct to the “vehicleapi” application, the next step is to direct the user to the requested view. This is done by creating the urls.py file within the “vehicleapi” application.
from django.urls import include, path
from rest_framework import routers
# Importing all Views
from . import views

router = routers.DefaultRouter()
router.register(r'NewVehicle', views.NewVehicleViewSet)

# Automatic URL routing
# Login URL for Browsable API Functionality
urlpatterns = [
    path('', include(router.urls)),
    path('api-auth/', include('rest_framework.urls', namespace='rest_framework'))
]
The router is a Django REST framework module that will dynamically direct the request to the specified resource. In this case it will direct to the “NewVehicleViewSet”. If any change occurs in the database, the URL will be automatically updated. The router depends on the views(viewsets) to correctly route the URLs.
After the URL patterns are included for the router, we have enabled the browsable API functionality with basic authentication which provides us with an interface to test the API.
Setting up Pagination
When dealing with large data sets the pagination functionality provides the API with a way to limit the resulting records to a specified amount. This can mitigate performance issues when retrieving or manipulating large data by breaking down the data set to manageable chunks. We can configure a pagination limit using the “vehicle_details” project settings file by adding the following code block.
.\vehicle_details\settings.pyREST_FRAMEWORK = {
'DEFAULT_PAGINATION_CLASS': 'rest_framework.pagination.PageNumberPagination',
'PAGE_SIZE': 10
}In this instance using the ‘PAGE_SIZE’ attribute we limit the maximum result to 10 records.
Testing the API
Let us start the server and test if the simple RESTful API is working as intended.
python manage.py runserver
API testing view

In the above test, as the API Root is presented to the user, we can identify that the Django Server is working as intended. In the following examples, we will check the functionality of the API.
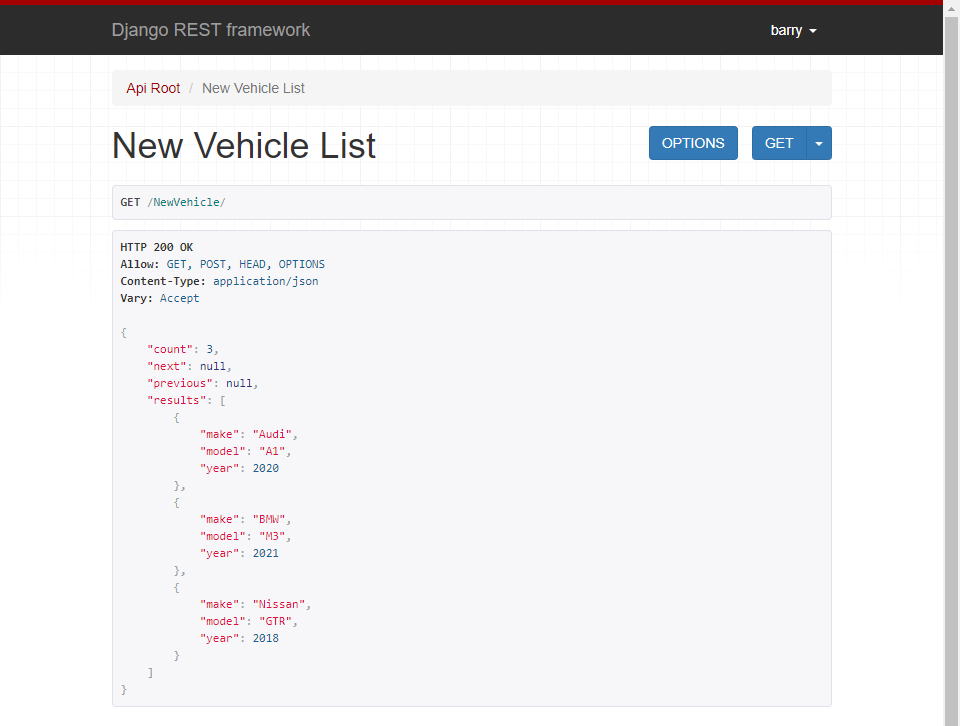
GET Request
We click on the link provided in the API Root http://127.0.0.1:8000/NewVehicle/, this will redirect us to a get request where the resulting data set will omit the price field and display the remaining fields. The results are sorted by make as we have specified the sort order to “make” field in the view.
GET Request
Requesting the URL via CURL
curl --location --request GET 'http://127.0.0.1:8000/NewVehicle/'
Requesting a Single Item via CURL
curl --location --request GET 'http://127.0.0.1:8000/NewVehicle/1/'
Modifying Serializer and View
We can change the serializer to include an id field to make the resulting data set more user friendly. This is achieved by modifying the serializers.py
.\vehicle_api\serializers.pyfrom rest_framework import serializers
from .models import New_Vehicle
class NewVehicleSerializer(serializers.HyperlinkedModelSerializer):
class Meta:
model = New_Vehicle
fields = ('id','make', 'model', 'year')The id field is automatically assigned for each record we created. Then we change the sort order by defining the “order_by” to “id” field in the view.
.\vehicle_api\views.py# from django.shortcuts import render
from rest_framework import viewsets
from .serializers import NewVehicleSerializer
from .models import New_Vehicle
class NewVehicleViewSet(viewsets.ModelViewSet):
queryset = New_Vehicle.objects.all().order_by('id')
serializer_class = NewVehicleSerializerThe output indicates that the new field “id” has been added to the resulting data set while sorted by “id” field.
Modified GET request

Requesting a Single Modified Item via CURL
curl --location --request GET 'http://127.0.0.1:8000/NewVehicle/1/'
POST Request
Using the inbuilt form in the Django REST framework, we sent a new POST request to add a new set of data as shown below.
New record creation interface

Newly created record
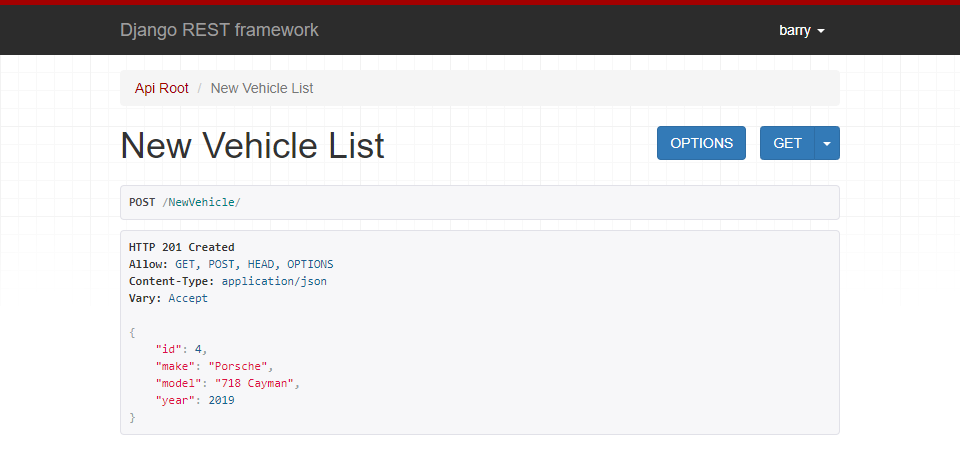
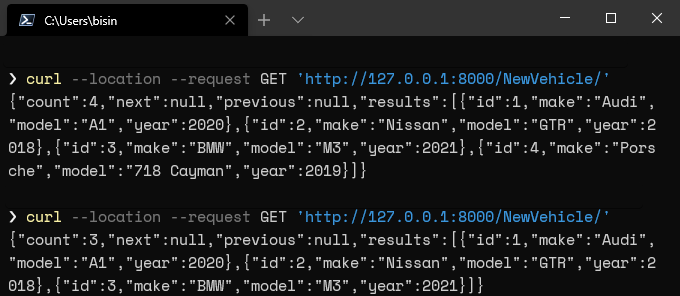
From the response code 201, we can surmise that the new vehicle details were successfully added to the database. Let us verify this using a GET request.
GET Request to check the new record
curl --location --request GET 'http://127.0.0.1:8000/NewVehicle/'
DELETE Request
Let us use the DELETE request to delete the newly created record. The DELETE request will delete the specified record or records. in this instance, we provide the “id” as the identifier to indicate which record to be deleted.
curl --location --request DELETE 'http://127.0.0.1:8000/NewVehicle/4/'Before and After the record is deleted
Final Thoughts
in this article, we learned what a RESTful API is and how to create a simple API using the Python Django web framework. RESTful API are the building blocks of the current connected world allowing easy communication between different types of applications and services.